Skip to content

There’s nothing quite like the pride of pulling up in a car that looks like it just rolled off the showroom floor. The deep gloss, flawless reflection, and immaculate finish turn heads and make even everyday vehicles stand out from the crowd.
The good news? You don’t need professional equipment or expensive detailing services to achieve these results. What separates amateur results from professional-level finishes isn’t fancy tools—it’s understanding the proper process and avoiding common mistakes that lead to swirls, water spots, and uneven finishes.
Assessing Your Car’s Paint
Before grabbing any products, evaluate your paint’s current condition. Find a spot with bright, even light—natural sunlight works best, but a good detailing light can reveal even more.
Look for:
- Swirl marks: Circular, spider-web patterns visible in direct light
- Scratches: Linear marks of varying depth
- Oxidation: Dull, faded appearance, especially on older vehicles
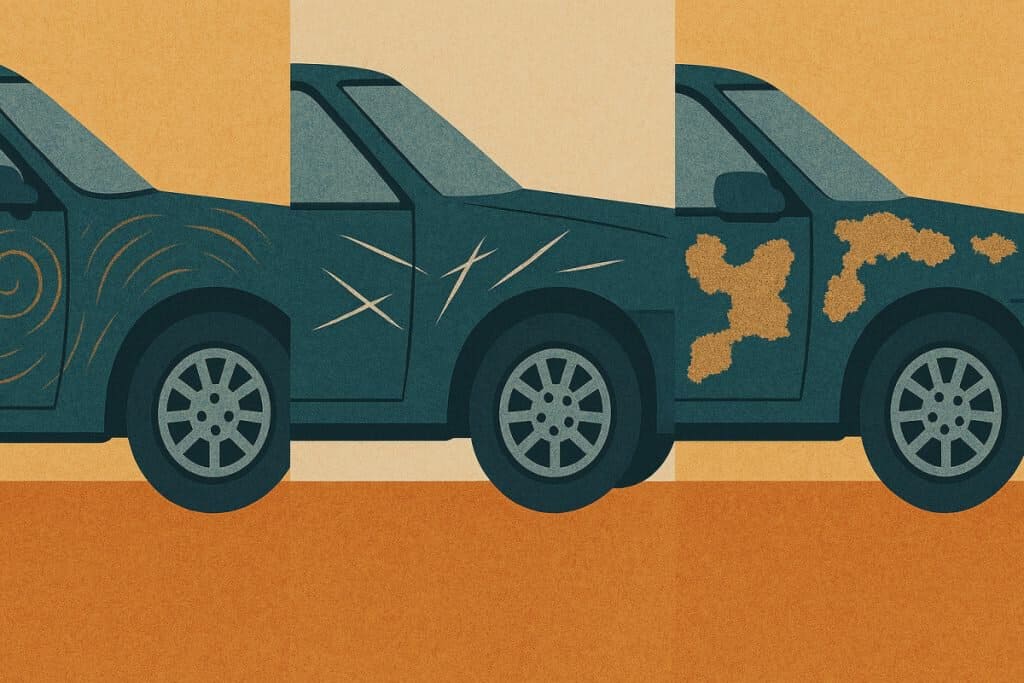
Your approach should vary based on your findings. Newer cars with minimal issues might need only a good wash and protection, while neglected finishes require more intensive correction steps.
Color also matters—black and dark-colored vehicles show every imperfection but reward meticulous work with mirror-like finishes. Silver and light colors hide minor flaws better, but still benefit from proper technique.
Essential Detailing Tools & Products
You don’t need everything at once. Start with the basics and expand your arsenal as your skills develop.
Washing Essentials
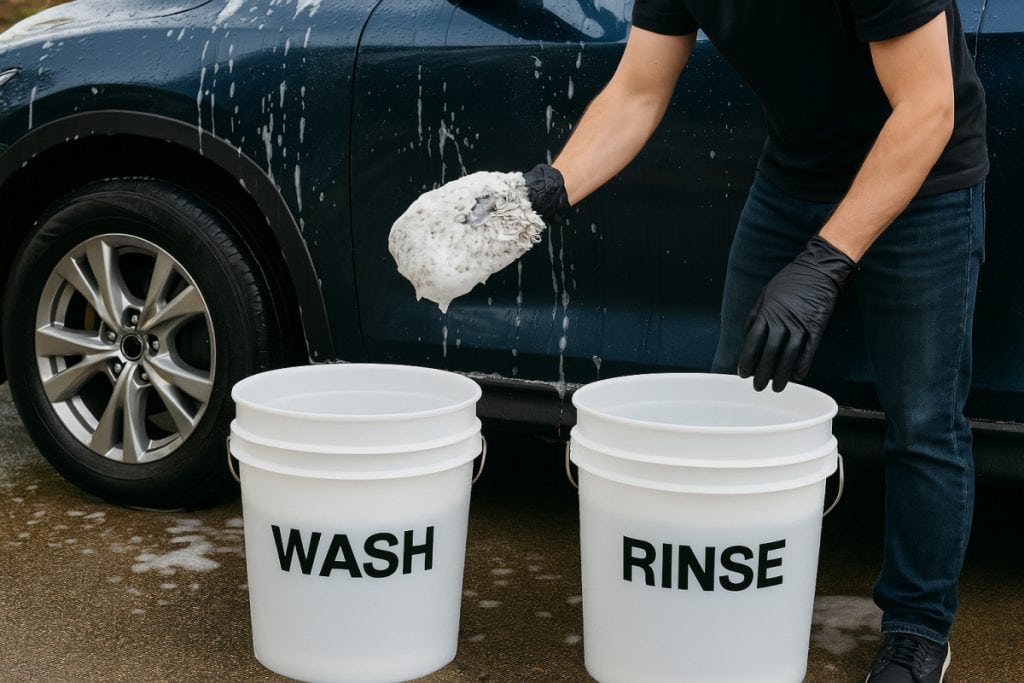
Two-bucket system: The foundation of scratch-free washing
- One bucket with soap solution
- One bucket with clean rinse water
- Grit guards in both buckets to trap dirt particles
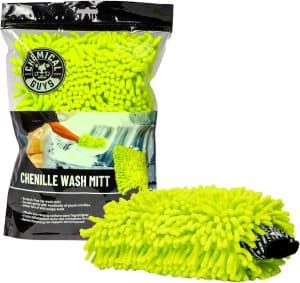
Quality wash mitts: Microfiber or wool options ($10-20) trap dirt rather than dragging it across paint. Here’s one from Chemical Guys. This premium microfiber wash mitt delivers a sudsy, swirl-free wash.
Car-specific soap: Regular dish soap strips wax protection; automotive soaps ($8-15) clean without removing protective layers
Water management: Garden hoses work fine, but pressure washers make pre-washing easier (just keep pressure under 1,500 PSI near paint)
Drying Tools
Microfiber drying towels: Plush, waffle-weave, or twisted loop designs absorb more water with less dragging
Drying aids: Spray products ($15-25) that reduce surface tension and prevent water spots
Blowers: Optional but excellent for water trapped in mirrors, badges, and crevices
Decontamination & Correction
Clay bar or synthetic clay mitt: Removes embedded contaminants that washing can’t touch
Polishes and compounds: Range from aggressive cutting compounds to fine finishing polishes
- Hand application options ($15-25)
- Entry-level machine polishers ($100-200) for more efficient correction
Protection Products
The three main protection categories offer different levels of durability and shine:
Carnauba Wax:
- Warmest, deepest shine
- 1-3 months protection
- $20-60 for quality products
- Easiest application
Synthetic Sealants:
- Sharper, more reflective finish
- 6-12 months protection
- $20-50 range
- Slightly more application requirements
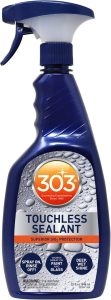
One recommendation is the 303 Touchless Sealant — a SiO2 spray-on, rinse-off solution that delivers deep shine and long-lasting water beading with minimal effort.
Ceramic Coatings:
- Hardest, most chemical-resistant protection
- 1-5 years durability
- $50-100 for consumer-grade options
- The most demanding application process
Budget recommendation: A quality synthetic sealant offers most users the best balance of performance and price.
The Complete Process: Step-by-Step
1. Pre-Wash Technique
Start with wheels and tires first—they’re the dirtiest parts of your vehicle.
Wheel Cleaning:
- Use a dedicated wheel cleaner appropriate for your wheel type
- Clean with wheel-specific brushes to avoid transferring brake dust to paint
- Rinse thoroughly before moving to the next wheel
Contact-Free Initial Cleaning:
- Rinse the entire vehicle to remove loose dirt
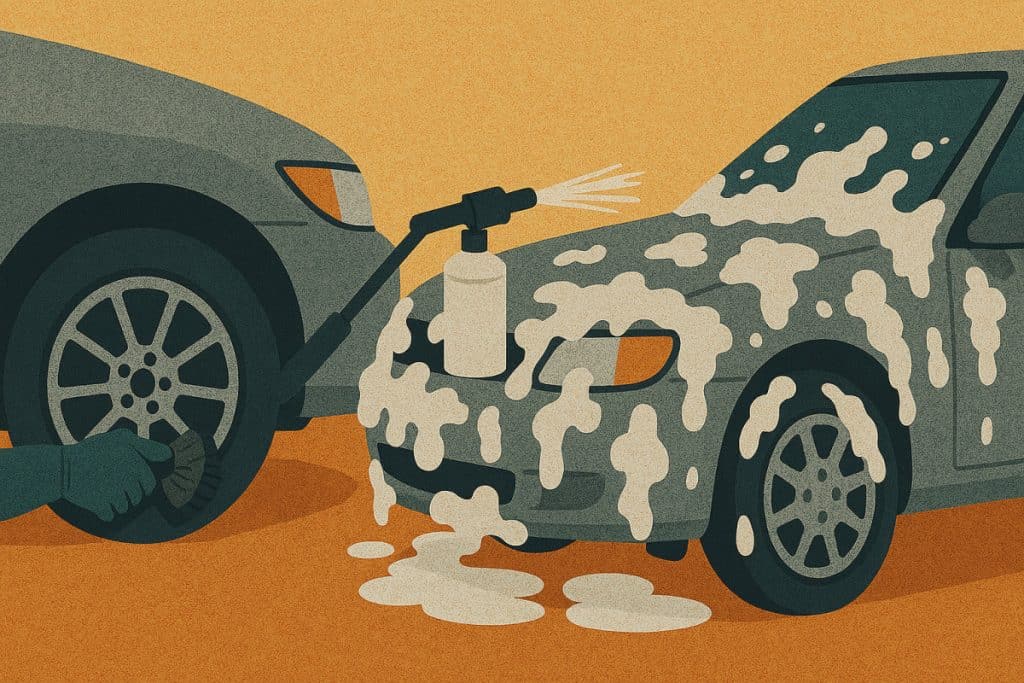
- Apply snow foam or pre-wash soap through a foam cannon or garden hose attachment
- Let dwell 3-5 minutes (but don’t allow to dry)
- Rinse thoroughly from top to bottom
This pre-wash step removes abrasive surface grit before you make contact with the paint.
2. Two-Bucket Wash Method
The proper technique makes all the difference between adding swirls and preventing them:
- Work in sections from top to bottom (roof → hood/trunk → upper sides → lower sides → bumpers)
- Wet the section first
- Use straight-line motions—never circular—with light pressure
- Rinse your mittens in the clean water bucket after each section
- Reload with soapy water from the wash bucket
- Rinse each section thoroughly before moving on
Common mistakes to avoid:
- Washing in direct sunlight on hot panels
- Using too little soap (follow product dilution rates)
- Dropping your mitt on the ground and continuing without rinsing
3. Paint Decontamination
Even a perfect wash leaves embedded contaminants that require removal before polishing:
Chemical Decontamination:
- Apply an iron remover spray that turns purple/red when reacting with embedded metal particles
- Allow to dwell according to directions (typically 3-5 minutes)
- Rinse thoroughly
Mechanical Decontamination (Clay):
- Work in 2′ x 2′ sections, keeping the surface and clay well-lubricated with detailing spray
- Use straight-line, light-pressure motions
- Fold the clay frequently and replace it when visibly contaminated
- Test completion by running your hand in a plastic bag over the surface—it should feel glass-smooth
4. Paint Correction
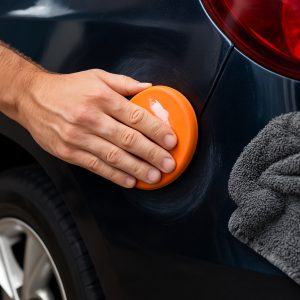
This step addresses swirls, light scratches, and oxidation.
Hand Polishing (good for spot correction):
- Apply a quarter-sized amount of polish to an applicator pad
- Work in a small area with moderate pressure and straight-line or cross-hatch patterns
- As the product begins to turn clear, reduce pressure for final passes
- Wipe away residue with a clean microfiber towel
- Inspect before moving to the next section
Machine Polishing (for more significant correction):
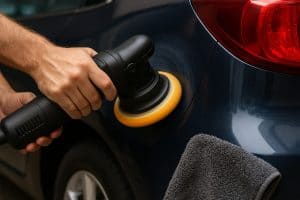
- Start with a test spot in an inconspicuous area
- Begin with the least aggressive combination of pad and polish
- Work at speed setting 3-4 on most dual-action polishers
- Use overlapping passes with light, even pressure
- Keep the machine moving steadily to prevent heat buildup
- Wipe away residue and inspect before moving to the next section
Multiple steps may be necessary:
- Compound with a heavier cutting pad for deeper defects
- Polish with finishing pad for maximum gloss
- Panel wipe to remove oils before protection
5. Protection Application
Different products require specific techniques, but all share common principles:
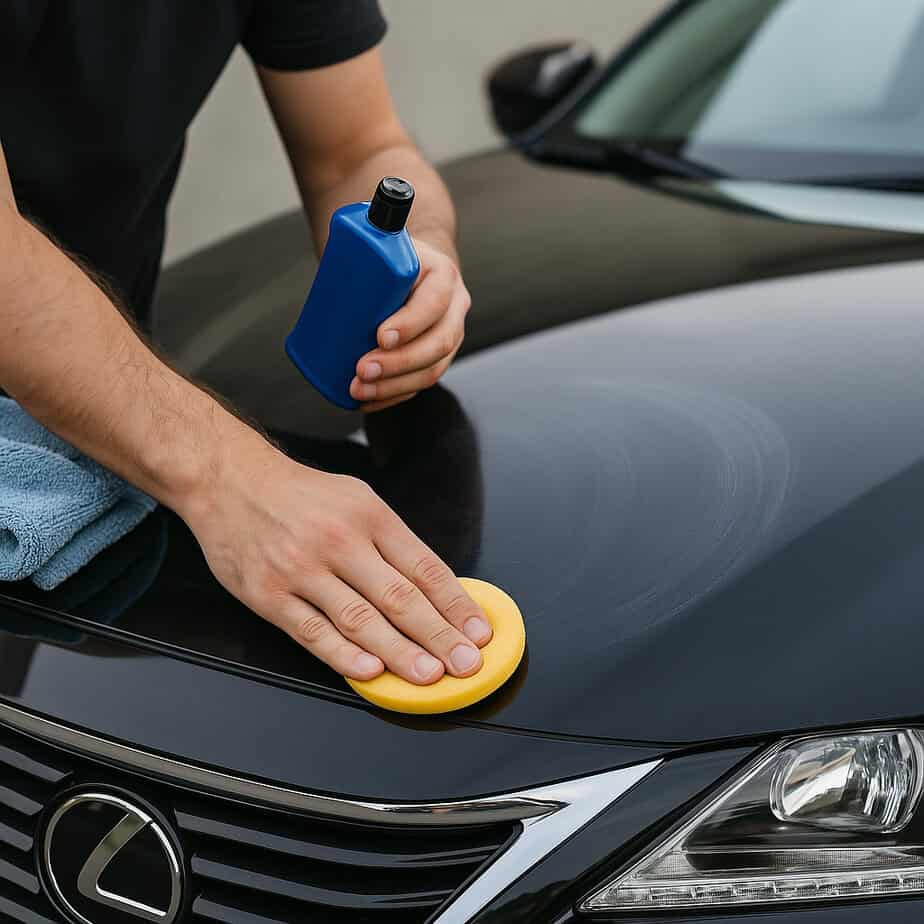
Wax Application:
- Apply to a cool, clean surface
- Use thin, even coats (thin enough to see through)
- Allow proper hazing time (typically when you can run a finger across it with no smearing)
- Remove with a clean, soft microfiber using light pressure
- Turn or switch towels frequently
Sealant Application:
- Ensure the surface is completely clean of oils (use an IPA panel wipe)
- Apply in a thin, even layer
- Follow specific product cure times
- Remove with gentle pressure and clean with microfiber
DIY Ceramic Coating:
- Work in a dust-free, controlled environment
- Keep the surface utterly free of contaminants
- Apply in small sections with precise, overlapping strokes
- Level/remove high spots before they fully cure
- Maintain proper curing conditions (typically 24+ hours without water contact)
6. Finishing Touches
These details complete the showroom-worthy appearance:
Glass:
- Use a quality automotive glass cleaner
- Clean exterior glass with up/down motions
- Clean interior glass with side-to-side motions
- Use a second, dry microfiber for final polishing
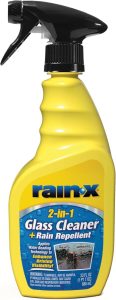
For a recommendation, you can try Rain-X Glass Cleaner + Rain Repellent— it cleans and adds water repellency to keep your vision clear in bad weather.
Trim & Plastic:
- Apply trim-specific protectants with foam applicators.
- Wipe away excess before it dries on the paint
- Consider dedicated trim coatings for longer-lasting protection
Wheels & Tires:
- Apply wheel sealant for easier future cleaning
- Use water-based tire dressings for a satin finish or solvent-based for glossier results
- Apply tire dressing with foam applicator, let sit 10-15 minutes, then buff excess
Maintenance Plan for Lasting Results
Maintain your hard work with a simple schedule:
Weekly: Quick detailer spray wipedown to remove dust and light contamination
Monthly: Proper two-bucket wash and protection refresh (spray sealants work perfectly)
Quarterly: Decontamination and protection reapplication
Seasonally: Consider stronger protection before winter and refresh before summer
Environmental Challenges:
- Remove bird droppings and tree sap immediately—they can etch paint within hours
- Consider ceramic coatings for vehicles parked outdoors
- Use quality car covers for long-term storage
Troubleshooting Common Issues
Water Spots:
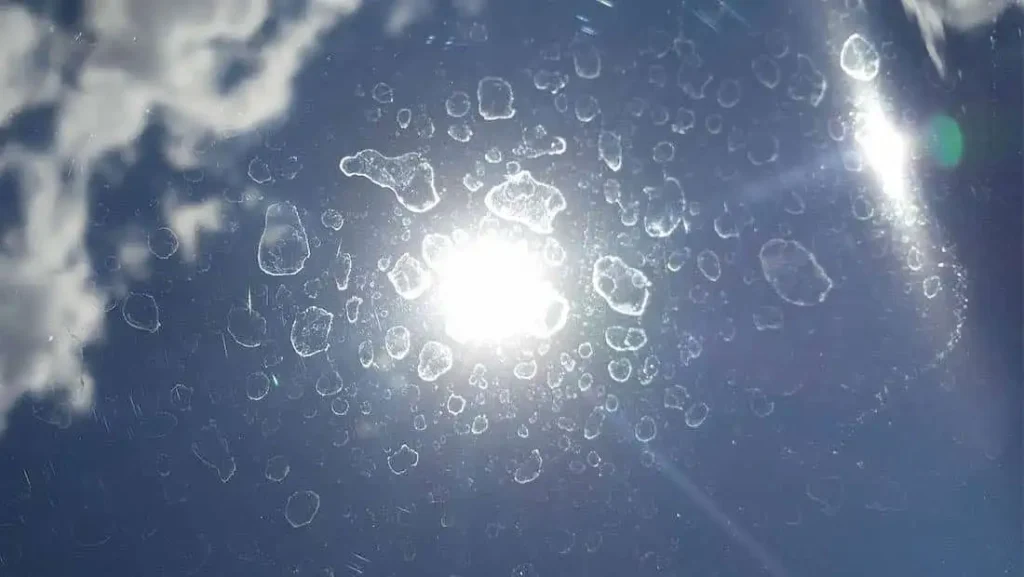
- Prevention: Proper drying techniques and drying aids
- Removal: Light polish for etched spots, dedicated water spot removers for mineral deposits
Swirls:
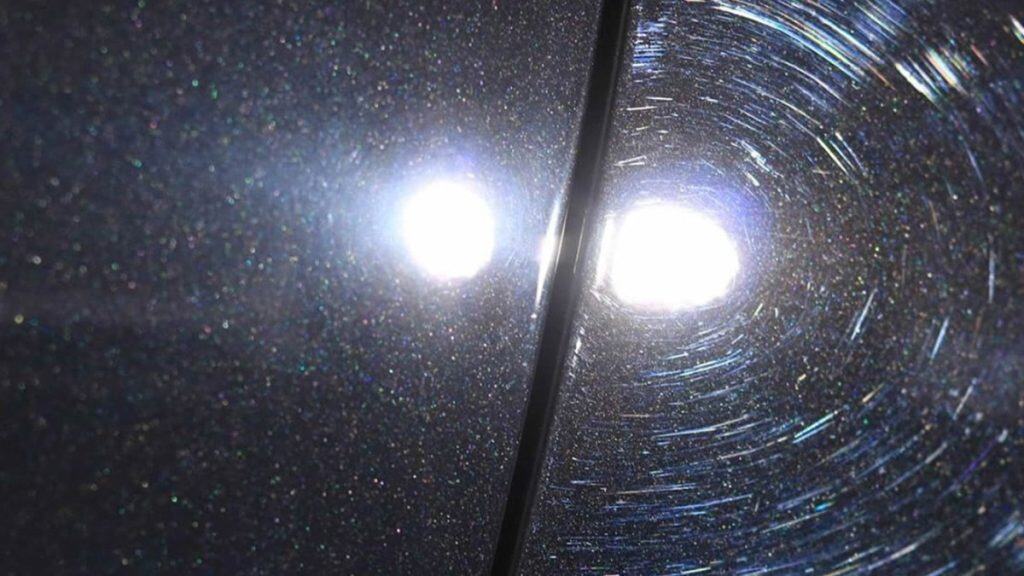
- Prevention: Two-bucket method, proper wash media, straight-line motions
- Removal: Polish with finishing pad and fine polish
Holograms/Buffer Trails:
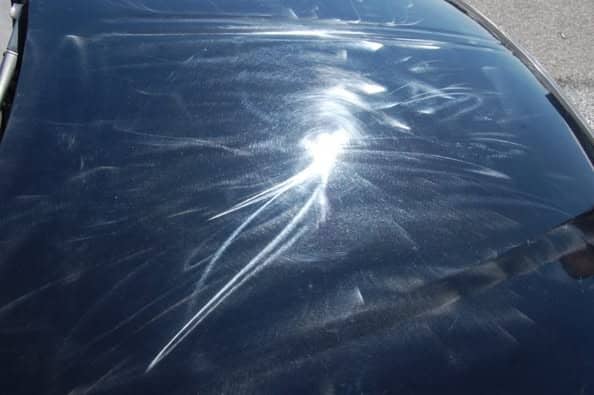
- Prevention: Proper pad/product selection, appropriate machine speed, complete breakdown of polish
- Removal: Finishing polish with soft pad at lower speed
Your Path to Showroom Results
The key to professional results is a methodical process, not expensive products. Start with proper washing technique, which prevents most paint damage. Next, add decontamination and protection steps, and finally, explore correction as your confidence grows.
With practice, you’ll develop the skills to maintain a finish that makes people ask, “Did you just get a new car?” every time you wash it.
What’s your biggest detailing challenge? Share your questions or success stories in the comments below!