 Skip to content

Plasti-Dip® is a type of finish that is not permanent and allows for color-changing effects without a long-term commitment. You can easily fix mistakes with Plasti-Dip® because it is peelable and not permanent. Sometimes that perfect combination is too hard to let go of and it is easy to wonder how to make Plasti-Dip® permanent.
The designers created Plasti-Dip® to be peelable and not permanent. Unfortunately, there is no way to make Plasti-Dip® permanent but there is a way to come close.
If Plasti-Dip® was a permanent solution it would just be called paint. However, the entire point of Plasti-Dip® is the flexibility of customizing and trying out different color combinations without the more significant, more permanent, and costly commitment of painting. However, there is a way to make Plasti-Dip® primarily permanent.
Making Plasti-Dip® Permanent (Almost) Starts with a Good Plasti-Dip® Primer
Plasti-Dip® is meant to come off but using the Plasti-Dip® Primer before applying coats of Plasti-Dip® to the item gives the Plasti-Dip® something else to stick to. In addition, the Plasti-Dip® primer bonds with the Plasti-Dip® to create a smoother shine. Similar to how natural primer works as a back surface and insulating layer between the object and the top layer of paint, this primer works with Plasti-Dip®.
Plasti-Dip® is already resistant to the following:
- Mold
- Moisture
- Acids
- Alkalines
- Chemicals
When using a primer with the Plasti-Dip® color of choice, the bond between the two is stronger and the Plasti-Dip® becomes tougher to remove. Once you apply the primer, it does not come off the project. However, the Plasti-Dip® will come off the primer coating with a hefty effort. The primer itself does not have to be from Plasti-Dip®.
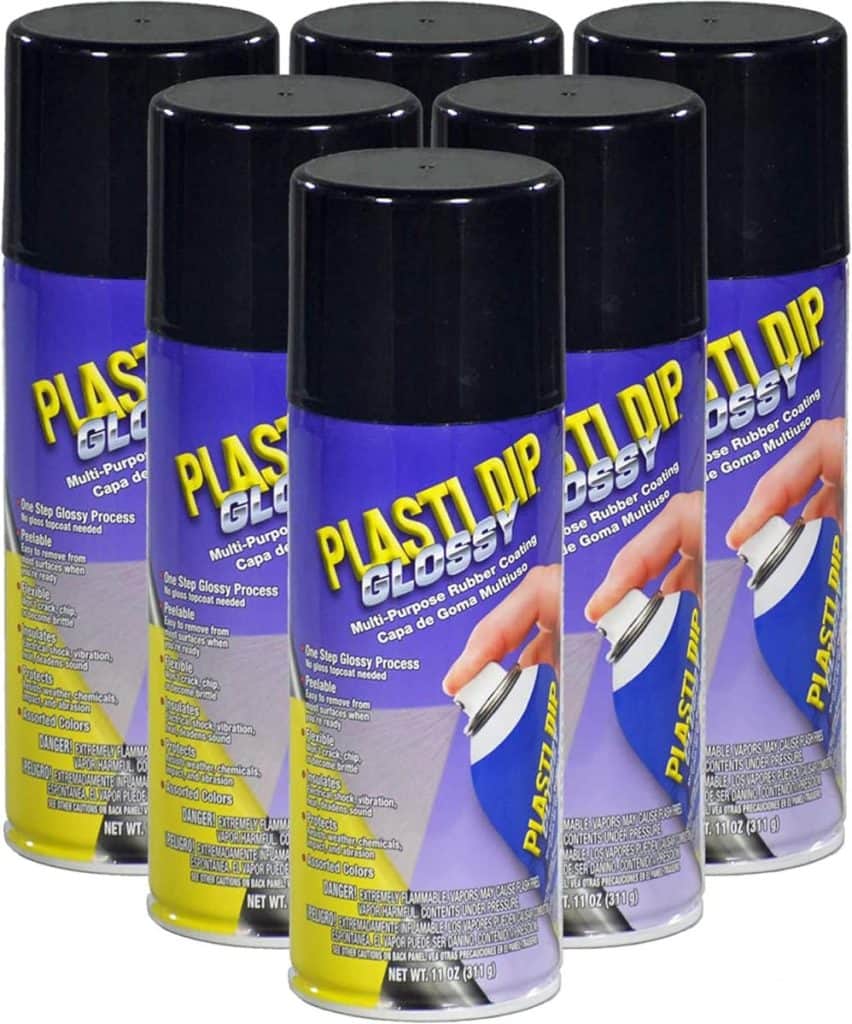
Any primer works, but the Plasti-Dip® primer specifically creates a stronger bond with Plasti-Dip®, while regular primer provides a smooth, neutral surface for the paint to stick to. Although you could technically use any primer, the project will turn out much better if you use all Plasti-Dip® products, including the glossifier™. This approach helps you make Plasti-Dip® permanent.
To Sand or Not to Sand Seriously Though Does It Need to Be Sanded?
The primer works by attaching itself to the main surface of the item to be painted. Surfaces are naturally rough and the primer is a layer that can help provide a smooth surface for the paint or Plasti-Dip® to attach to. Plasti-Dip® is not ordinarily permanent and even with primer it technically is not permanent (you don’t need a varnish to remove it and varnish probably would not work anyway).
Choosing Not to Sand the Project
There are several tricks to getting a smooth surface with Plasti-Dip® without using a primer. For instance, the wet coat method works excellently; when you spray a light coat first, let it sit for a little while to allow the solvent to evaporate, then apply the heavy coats over the Plasti-Dip®. This method is excellent if one does not wish to sand the project or wants the rougher “bed liner” look.
When using the Plasti-Dip® primer it is essential to note that it will not come off the project. The Plasti-Dip® attaches to the primer but can be removed from the primer. The primer is a layer that allows the Plasti-Dip® to bond with the primer sitting between the surface of the project and the Plasti-Dip® to help get a smooth finish.
You do not need to sand the primer, but I always recommend lightly sanding it to create a smoother surface.
Sand the Plasti-Dip® Primer
Sanding the Plasti-Dip® primer minimizes the surface roughness that any Plasti-Dip® color would adhere to. The difference between a sanded primer and a non-sanded primer is noticeable to the trained eye. However, most of the time, people don’t notice if you don’t properly sand the cargo rack before adding the color coats of the finish.
The Finishing Touches Make the Plasti-Dip® Permanent (Mostly)
Plasti-Dip® offers several top-layer finishes to add style to the plain colors of Plasti-Dip® spray. The glossifier™ adds a shiny glossy shine to the project and provides fade protection™. Although these finishes are not permanent, they rest on the Plasti-Dip®. Any of the finishes available are easy to apply.
How to Apply Plasti-Dip® Finishes:
- Clean and dry the surface.
- Prepare the can by following the instructions on the can.
- Allow a minimum of eight hours of dry time.
Regardless of which finisher is used, they provide a finishing touch to help give the Plasti-Dip® a more permanent paint-like look. All top coat finishes add a level of fade protection and there are many options to choose from. In addition, each of the finishers works better with specified color blends from Plasti-Dip®. For instance, the satinizer™ works better with the vibrant Blaze™ product line, ensuring perfect blending paintwork.
Plasti-Dip® allows for a metalized look and feel or a pearlescence top coat. Since designers made Plasti-Dip® to be removable, the top coat finishers adhere to it. Therefore, when you remove the Plasti-Dip®, you also remove the top layer finish. This is important to consider when you want to make Plasti-Dip® permanent.
Can I Use Other Types of Permanent Finishes?
Plasti-Dip® works because of its unique bonding qualities. Although peelable, Plasti-Dip® becomes more durable with the permanent primer and top coat seal. However, if you use another finish on top, both the Plasti-Dip® and the top coat risk flaking and peeling off. This is crucial to remember when you want to make Plasti-Dip® permanent.
So Plasti-Dip® Can Almost Be Made Into a Permanent Finish
Plasti-Dip® is a new and innovative way to color an object. The product has taken the markets by storm recently, and it makes sense that people would want to make Plasti-Dip® permanent. However, then it would literally just be paint, and people want options. Therefore, using the primer is the most efficient manner to get the longest-lasting effect from a Plasti-Dip®-treated project.
FAQ
Q: Can Plasti-Dip® be made completely permanent?
No, Plasti-Dip® is designed to be peelable and is not meant to be a permanent solution. However, using a Plasti-Dip® primer and top coat finishes can significantly increase its durability.
Q: What is the purpose of using a primer with Plasti-Dip®?
A primer creates a stronger bond between the Plasti-Dip® and the object, making the coating tougher to remove and providing a smoother finish.
Q: Do I need to sand the surface before applying Plasti-Dip®?
I recommend sanding to create a smoother surface for the Plasti-Dip® to adhere to, although it is not strictly necessary. You can also use the wet coat method for a smoother finish without sanding.
Q: What finishes can I apply over Plasti-Dip®?
Plasti-Dip® offers several top-layer finishes such as glossifier™, metalizer™, and satinizer™. These finishes add style, shine, and fade protection to the Plasti-Dip®.
Q: Can I use any primer with Plasti-Dip®?
You can use any primer, but the Plasti-Dip® primer specifically creates a stronger bond with Plasti-Dip®, resulting in a better finish.
Q: How do I apply Plasti-Dip® finishes?
To apply Plasti-Dip® finishes:
- Clean and dry the surface.
- Prepare the can by following the instructions on the can.
- Allow a minimum of eight hours of dry time.
Q: Can I use other types of permanent finishes over Plasti-Dip®?
Using other finishes over Plasti-Dip® is not recommended because when the Plasti-Dip® starts to peel, the top coat applied will also start to peel. You should always consider this if you want to make Plasti-Dip® permanent.


