 Skip to content


You start the car and see a low tire pressure warning, or one tire simply looks lower than you remember. The tricky part is that one low PSI reading does not tell you why the pressure dropped.
The useful question is whether the tire is slightly underinflated and stays stable after correction, is actively losing air somewhere, or is already deflated or damaged enough that you should not drive on it.
Quick Answer:
Keep the car parked, inspect the tire for obvious damage, find the vehicle’s recommended cold pressure, check all tires with a gauge, then inflate an otherwise undamaged low tire to specification and recheck it. A tire that repeatedly or quickly loses pressure needs leak diagnosis, while a visibly collapsed or seriously damaged tire should not be driven.
What You Can Check While the Car Is Still Parked
You do not need a road test to start figuring this out.
Before moving the vehicle, look at the low tire and ask:
- Is it visibly flattened or collapsed?
- Is the vehicle’s weight noticeably crushing the tire?
- Can you see a nail, screw, cut, crack, bulge, or other damage?
- Is this the same tire you recently refilled?
- Is only one tire low, or are several showing a similar pressure drop?
- Has the outside temperature recently fallen?
Then use a tire-pressure gauge.
A tire can be underinflated without looking obviously flat, so the visual check is only the beginning.
If you need a tire pressure gauge, our recommended option is the Rhino USA Heavy Duty Tire Pressure Gauge. Choose a gauge whose range covers your vehicle’s recommended tire pressures. This model measures up to 60 PSI, so a higher-range gauge is needed for tires requiring more than that. If you already have a reliable gauge with the right range, there is no need to buy another.

Find the Correct Cold Tire Pressure
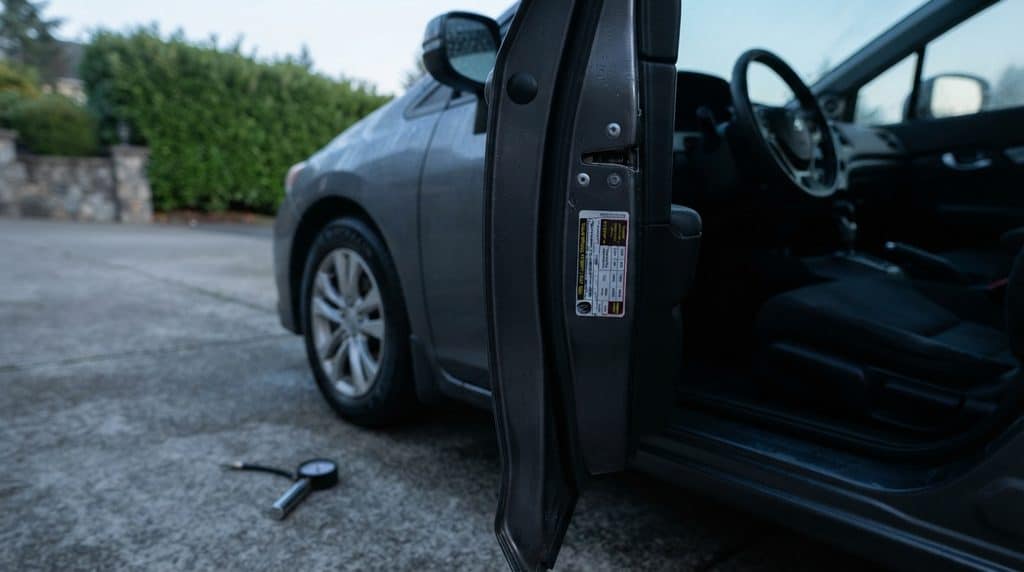
Before deciding how low the tire really is, find the vehicle manufacturer’s recommended cold inflation pressure.
You can usually find this information on the tire-information placard or label provided by the vehicle manufacturer.
For this type of pressure check, NHTSA describes a cold tire as one on a vehicle that has not been driven for at least three hours.
If you discover the problem after driving and the tires are already warm, do not bleed air simply to bring a warm reading down to the vehicle’s cold-pressure specification. Tire pressure normally rises as the tire warms. Recheck the pressure after the vehicle has been parked long enough for the tires to become cold, then make the final adjustment using the cold specification.
Use that specified cold pressure as your target.
Do not use the maximum pressure molded into the tire sidewall as the normal inflation target for the vehicle.
There is also no universal PSI number that separates a tire that “just needs air” from one that has a leak.
What matters is:
- how the measured pressure compares with the vehicle specification
- the physical condition of the tire
- the pressure pattern across the other tires
- whether the tire holds the correct pressure afterward
Correct pressure matters because an underinflated tire flexes more as it rolls, which builds extra heat and stress. Continued driving in that condition can cause irregular wear and internal tire damage and can contribute to tire failure.
Gauge All the Tires
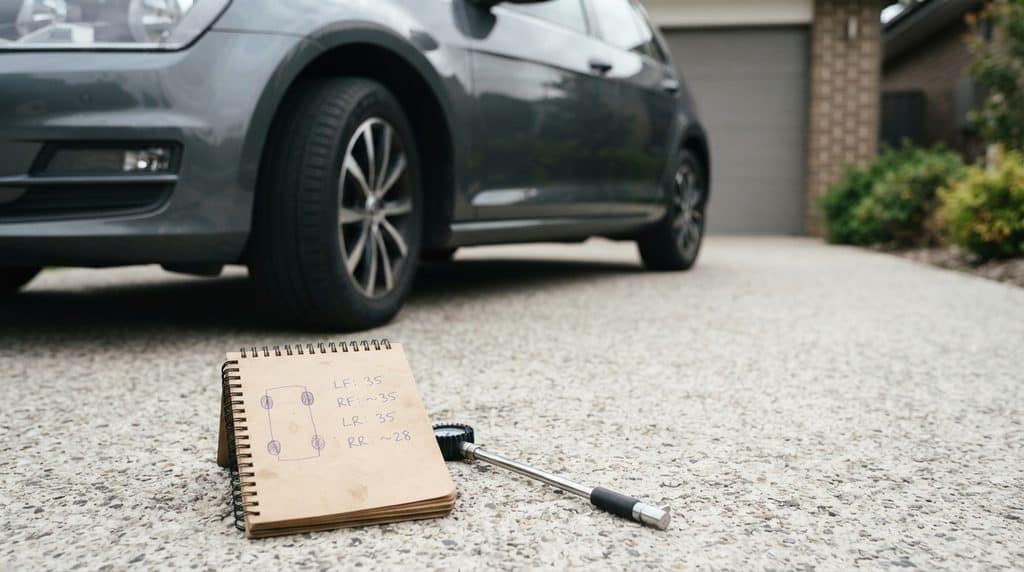
Check all four tires while they are cold rather than measuring only the one that triggered your attention.
This gives you a useful comparison.
Are Several Tires Similarly Low?
If several tires have dropped by a similar amount after a noticeable decrease in ambient temperature, temperature change or routine pressure maintenance becomes more plausible.
That still does not prove weather is the only cause.
Each tire still needs to be brought to the correct cold pressure and monitored.
Is One Tire Much Lower Than the Others?
One tire consistently losing more pressure than the others makes a localized air-loss problem more suspicious.
That could be a puncture, but do not jump straight to a nail in the tread.
Air can also escape through other areas of the tire and wheel assembly.
The pressure pattern is a clue, not the final diagnosis.
Did the Temperature Just Drop?
Weather is worth considering because measured tire pressure changes with temperature.
As the ambient temperature falls, tire pressure falls too.
As a rough rule of thumb, Michelin notes that tire pressure can drop by about 1 PSI for each 10°F drop in temperature.
That helps explain why multiple tires may suddenly read low after the first major cold snap.
What it does not mean is that winter automatically explains every low-pressure warning.
If one tire is losing significantly more pressure than the others, or the same tire needs repeated inflation, keep investigating.
Did You Just Refill This Tire?
This remains one of the most useful questions you can ask.
If you inflated a tire correctly and it is low again soon afterward, there is an ongoing air-loss problem that needs to be located.
It does not automatically mean there is a tread puncture.
Possible sources include:
- a tread puncture
- other tire damage
- a leaking valve or valve stem
- leakage where the tire bead seals against the wheel
- wheel damage or corrosion affecting the seal
Tires can also lose some air gradually over time, so the rate and pattern of the loss matter.
The important clue is recurrence.
If one tire repeatedly falls below the correct cold pressure while the others remain stable, do not keep treating inflation as the repair.
Common Real-World Reasons a Tire Gets Low or Goes Flat
Sometimes a tire is low because it mainly needs routine inflation rather than because it has a new puncture.
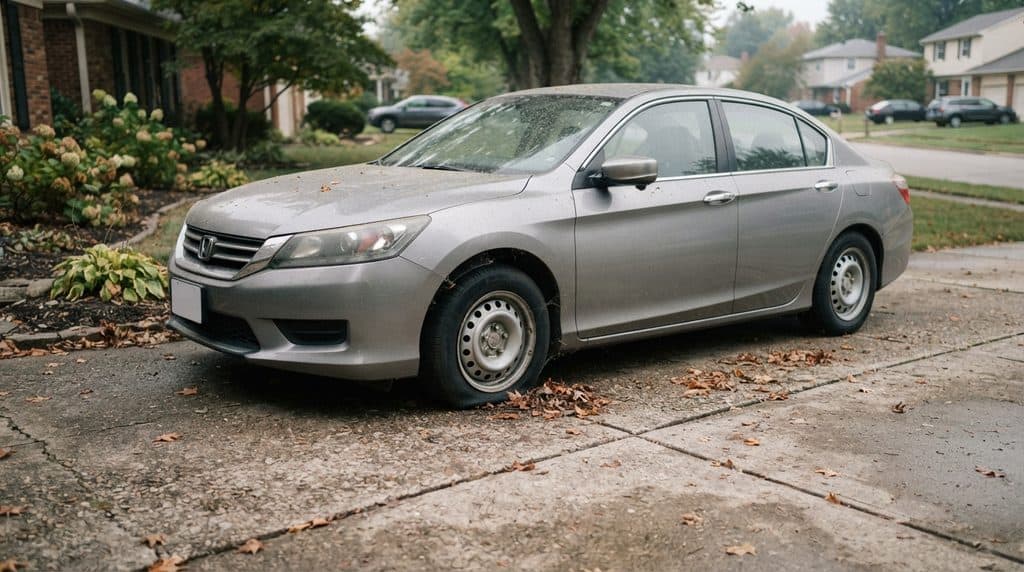
Common situations include colder weather, normal gradual air loss over time, overdue pressure checks, or a vehicle sitting unused for an extended period. A stored or infrequently driven vehicle may have lower tire pressures when you return to it simply because time has passed and the ambient temperature may have changed.
That does not mean sitting unused caused a puncture.
If several tires are similarly low, bring them to the vehicle manufacturer’s specified cold pressure and monitor them. If one tire has lost substantially more pressure than the others, a localized air-loss problem becomes more suspicious.
Ongoing or faster pressure loss can come from several places, including:
- a nail, screw, or other tread puncture
- a leaking valve or valve stem
- leakage where the tire bead seals against the wheel
- wheel damage or corrosion that interferes with the seal
- tire damage from a pothole, curb strike, or another physical impact
You cannot prevent every puncture from road debris, but you can reduce surprises. Check your cold tire pressures periodically and before putting an infrequently used vehicle back into regular service. Keep the tires at the vehicle manufacturer’s specified cold pressure, visually inspect them for damage or embedded objects, and investigate a tire that repeatedly needs air instead of continually topping it up.
If you find a valve, bead, wheel, or tire problem, address the actual source of the air loss rather than treating inflation alone as the repair.
Inspect the Tire for Visible Damage
With the vehicle parked, inspect as much of the tire as you can safely see.
Look for:
- obvious flattening or collapse
- a nail, screw, or other puncturing object
- cuts
- cracks
- a bulge or bubble
- significant sidewall damage
- other visible tire or wheel damage
A visible puncturing object is useful evidence, but do not remove it merely because you found it. Removing the object may increase the rate of air loss before the tire can be properly assessed.
Also remember that a tire can be materially underinflated without looking dramatically different from the other tires.
That is why the gauge reading still matters.
Use a Soap-and-Water Test for Accessible Leaks
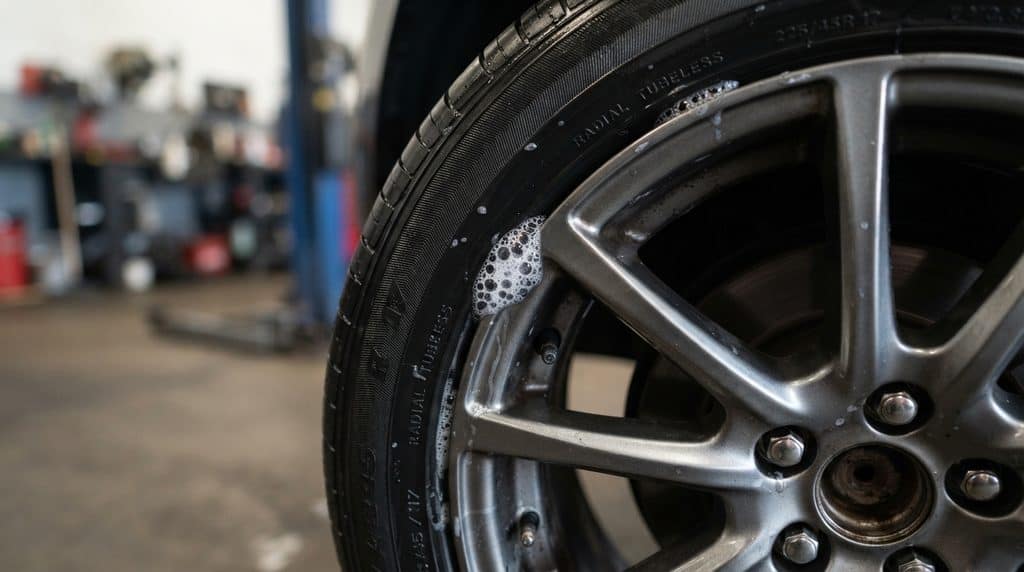
A simple soap-and-water bubble test can help locate an external air leak.
You do not need to remove the wheel just to perform this initial check on areas you can safely access.
Apply the solution to suspected leak areas such as:
- an accessible puncture area in the tread
- the valve and valve-stem area
- accessible sections of the tire-to-wheel bead interface
Watch the area carefully.
Growing or repeatedly reforming bubbles indicate escaping air.
Tiny leaks can be slow, so give the solution enough time to reveal continued bubbling.
If you see no bubbles, that does not prove the tire and wheel assembly are leak-free.
The leak may be:
- too small to show easily
- in an area you cannot access externally
- intermittent
- at another part of the tire, valve, bead, or wheel
A negative bubble test simply means you did not locate the leak with that test.
Inflate and Recheck While Parked
If the tire has no obvious severe damage and is simply below specification, inflate it to the vehicle manufacturer’s specified cold pressure.
Do not intentionally overinflate it.
If you do not have an air source where the vehicle is parked, a portable tire inflator lets you add air without moving the car. Otherwise, roadside assistance or mobile tire service can bring inflation or inspection to the vehicle. Do not use a trip to an air pump as the diagnostic test for a questionable tire.
Then check the pressure again with your gauge.
You can learn more by monitoring the tire while the vehicle remains parked than by deliberately driving on a questionable tire just to see what happens.
If the tire quickly loses pressure again, cannot reach or hold the specified pressure, or visibly collapses after inflation, stop there.
Do not make a road test the next diagnostic step.
The continuing pressure loss is already telling you the assembly needs service.
What TPMS Can and Cannot Tell You
The Tire Pressure Monitoring System is useful, but it does not diagnose the cause of low pressure.
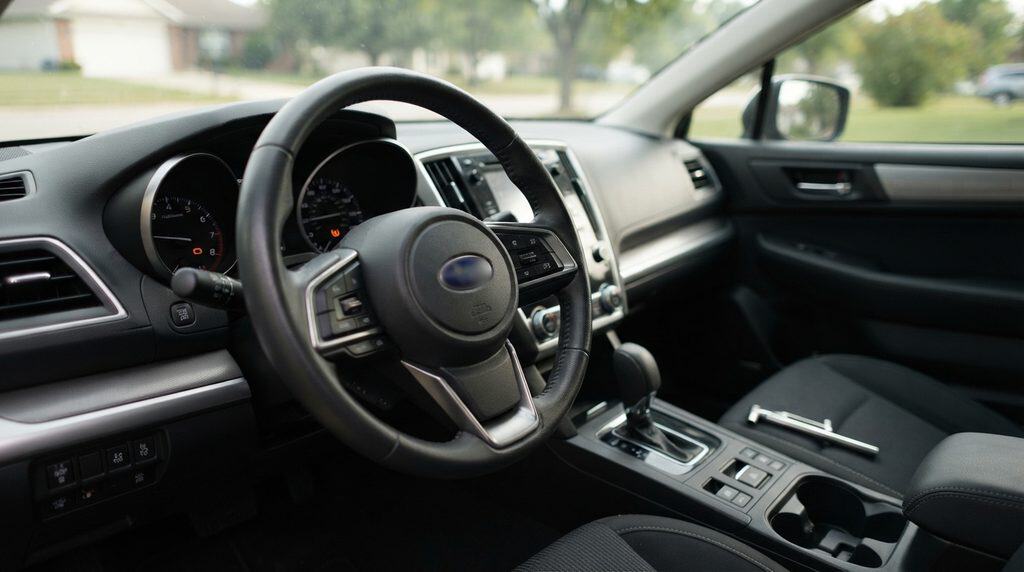
TPMS can warn you when a tire becomes significantly underinflated.
A flashing TPMS warning means something different from the ordinary steady low-pressure warning. NHTSA says a TPMS malfunction may be indicated when the symbol flashes for 60 to 90 seconds and then remains illuminated. If that happens, check the tire pressures with a gauge rather than relying on the TPMS to monitor them correctly, and have the system inspected.
It does not tell you whether the pressure loss came from:
- colder weather
- gradual natural air loss
- a puncture
- a leaking valve
- a bead leak
- another tire or wheel problem
It also does not replace an accurate tire-pressure gauge.
A TPMS warning can sometimes disappear after the tires warm during driving because tire pressure rises with temperature.
That does not prove the original cold pressure was correct or that a leak has disappeared.
Use the vehicle’s cold-pressure specification and an actual gauge to determine where the pressure stands.
When the Tire Should Not Be Driven
Some conditions should end the DIY monitoring process before the vehicle moves.
Do not drive on the tire if:
- it is visibly flat or collapsed
- the vehicle’s weight is visibly crushing the tire
- it has a bulge or bubble
- significant sidewall damage is visible
- it is losing pressure rapidly
- it cannot remain inflated
- another obvious serious tire or wheel condition is present
Continuing to drive a flat tire can damage both the tire and wheel.
If you have a definite flat and your vehicle has the appropriate spare tire, jack, tools, and safe working conditions, MotorHills has a guide on how to change a flat tire.
If those conditions are not met, arrange appropriate roadside or tire service rather than driving on the damaged tire.
If You Find a Puncture, Can It Be Repaired?
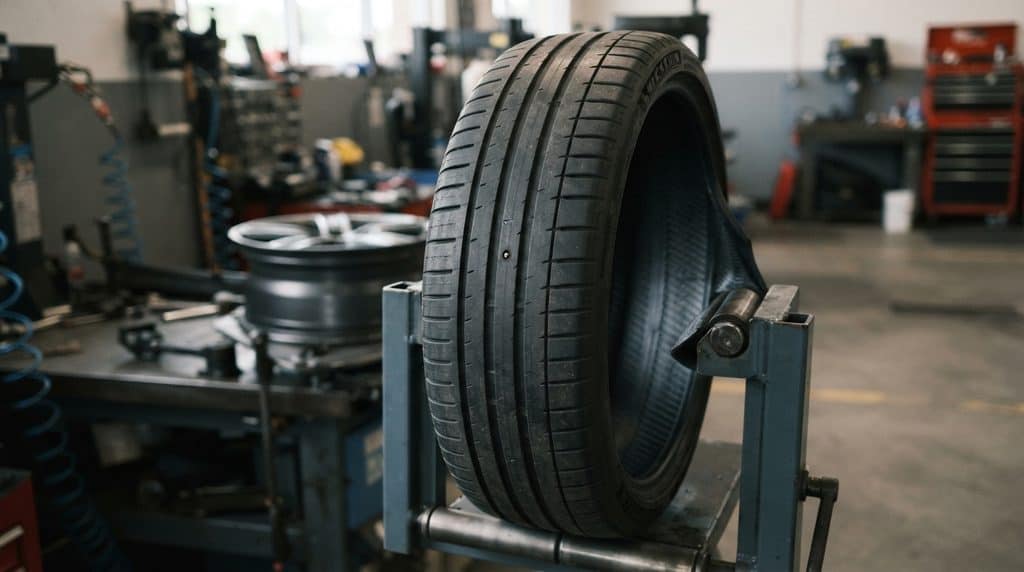
Finding the leak and deciding whether the tire can be permanently repaired are two different questions.
Some punctures in the tread repair area may be professionally repairable.
Under standard USTMA guidance, a puncture injury must be in the repairable tread area and no larger than 1/4 inch (6 mm).
Damage that extends into the shoulder or belt-edge area is not repairable under that standard procedure.
Sidewall punctures are also outside the standard repairable area.
Even a puncture that looks repairable from outside still needs more than an external visual decision.
Before a proper permanent puncture repair, the tire must be removed from the wheel so the inside can be inspected for damage.
That internal condition matters because driving while underinflated or flat can damage a tire in ways you cannot see from outside.
A plug inserted from the outside by itself is not considered a proper permanent repair under USTMA guidance.
Repairability can also depend on the tire manufacturer’s restrictions and what the internal inspection reveals.
Make the Decision Before the Car Moves
You can usually learn what you need without driving around to test the tire.
Start with the cold-pressure specification, check every tire with a gauge, then look at the pattern.
Several tires becoming similarly low after a temperature drop makes weather and routine inflation more plausible. One tire repeatedly losing more than the others makes a localized leak more suspicious. Neither pattern proves the cause by itself.
Inspect the tire and accessible leak points. Inflate an otherwise undamaged low tire to the correct cold pressure and recheck it while parked.
If it holds, monitor it.
If it keeps losing air, find the source.
If it is visibly collapsed, badly damaged, or cannot hold pressure, do not drive on it.
That gives you a much safer answer than trying to determine whether a questionable tire is “flat or just needs air” by taking it onto the road.
External Resources
- NHTSA: TireWise pressure, placard, gauge, and TPMS guidance
- Michelin: Temperature and recurring pressure-loss context
- Michelin: Causes of flat or air loss and flat-tire driving guidance
- Michelin: How to check and inflate tire pressure
- Goodyear / USTMA: External soap-and-water leak inspection and repair-process limits
- USTMA: Puncture repairability, tread/shoulder/sidewall boundaries, and internal-inspection requirements
- USTMA: Tire care essentials and underinflation guidance


Yes I just put air into my tires , doesn’t look flat , but tire light is still on .
You would need to get the TPMS (tire pressure monitor sensors) programmed. Sometimes there’s a button on the dash that will allow you to reset it and other times the battery inside the sensors themselves goes out. If the battery goes out, they will need to be replaced.