 Skip to content


A car door that suddenly refuses to open from the inside can go from annoying to worrying pretty quickly, especially if you are sitting next to the door that failed.
Start with how the door behaves before you pull the panel apart. That gives you useful clues about whether you are dealing with a child lock, an inside-handle connection, a latch or actuator problem, an electronic release issue, cold-weather binding, or collision damage.
Quick Answer:
Start by checking whether the door opens from outside, whether it is a rear door with a child lock, and whether the inside handle still has normal resistance before removing any trim.
A rear door that opens normally from outside but not inside calls for a child-lock check first. If the outside handle works but the inside handle feels loose, misaligned, or suddenly lost tension, the inside release connection deserves attention. If neither handle opens the door, treat that as a different and potentially deeper problem.
Start With How the Door Behaves
You can narrow this problem down considerably before touching a screwdriver.

First answer these questions:
- Is it a front or rear door?
- Does the outside handle still open it?
- Does the inside handle feel normal?
- Do the locks still respond normally?
- Is the problem happening only in freezing weather?
- Did it start after an accident or impact?
- Does the vehicle use an electronic door release?
Those answers tell you where to look next.
Rear Door Opens Outside but Not Inside
If the problem is limited to a rear door and that door still opens normally from outside, check the child lock before assuming anything inside the door is broken.

Many vehicles with conventional mechanical child-protector locks place the control on the rear door edge near the latch. When engaged, the child lock disables the interior release while still allowing the door to be opened from outside.
Some vehicles use an electronic child-safety lock instead of a manual door-edge control. If you do not find a mechanical switch, check the owner’s manual and the vehicle’s child-lock controls before ruling the child lock out.
Open the affected rear door from outside when the vehicle uses a mechanical child lock, or check the documented electronic child-lock control for your vehicle.
If it was engaged, turn it off according to the vehicle instructions and test the inside handle again.
If the child lock is already off and the inside handle still does nothing, continue with the inside-release diagnosis.
Check for Double Locking on Equipped Vehicles
Some vehicles have a double-locking theft-protection feature that intentionally prevents the doors from being opened or unlocked from inside.
If several doors became inoperative from inside immediately after the vehicle was locked, check the owner’s manual to see whether your vehicle has this feature before diagnosing a broken interior handle. Follow the manufacturer’s instructions to return the locks to normal.
Double locking should never be activated while occupants are inside the vehicle.
Outside Handle Works but the Inside Handle Does Not
This pattern points you toward the inside release system before it points you toward a completely failed latch.

Pay attention to how the bad handle feels.
Without taking apart a working door, pull the inside handle on another functioning door and compare its normal resistance and travel with the failed one.
Possible clues include:
- noticeably less resistance
- excessive or unusual travel
- visible handle misalignment
- a handle that suddenly feels loose
- a pop when the failure first occurred
Those symptoms can occur when an interior handle or its latch-release cable connection fails. They are clues, not proof that one particular component has broken.
A cable, rod, retainer, handle attachment, or another vehicle-specific release connection could be involved.
The Door Will Not Open From Either Side
If neither the inside nor outside handle opens the door, treat it as a different problem.
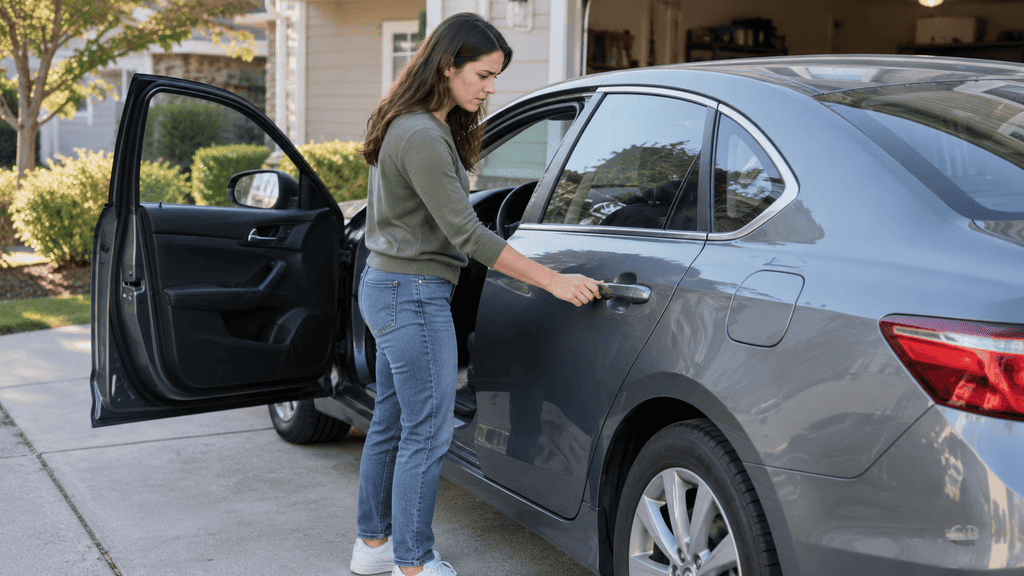
Possible areas include:
- the latch
- the lock or actuator system
- an internal release connection
- an obstruction or binding condition
- collision-related misalignment or damage
If another door works, use that door to get out of the vehicle rather than trying to force the failed door open.
Do not blindly reach inside the door or manipulate linkages hoping to trip the latch. A closed door can also make the trim and internal hardware much harder to access safely.
If the door is stuck closed and the vehicle-specific service procedure does not provide safe access to what you need, this is a sensible point to stop before damaged trim or an accidental airbag-related problem turns one failure into several.
Electronic Release or Low-Voltage Symptoms
Some vehicles use electronic or powered door-release systems, so the normal mechanical-handle logic does not apply equally to every car.
If the failed door is part of an electronically released system and you are also seeing broader low-voltage or no-power behavior, find the manufacturer’s manual-release procedure for that exact vehicle.
Check the manufacturer’s procedure for the exact door position because front and rear emergency releases can differ. Use the documented release location and procedure rather than pulling trim or searching for a cable based on another vehicle’s design.
The Problem Happens Only in Freezing Weather
If the door works normally most of the time but becomes difficult or impossible to open only during freezing conditions, consider a cold-related binding problem before taking the door apart.
Do not force an exterior handle that appears ice-bound, and do not use tools to pry the handle or door open.
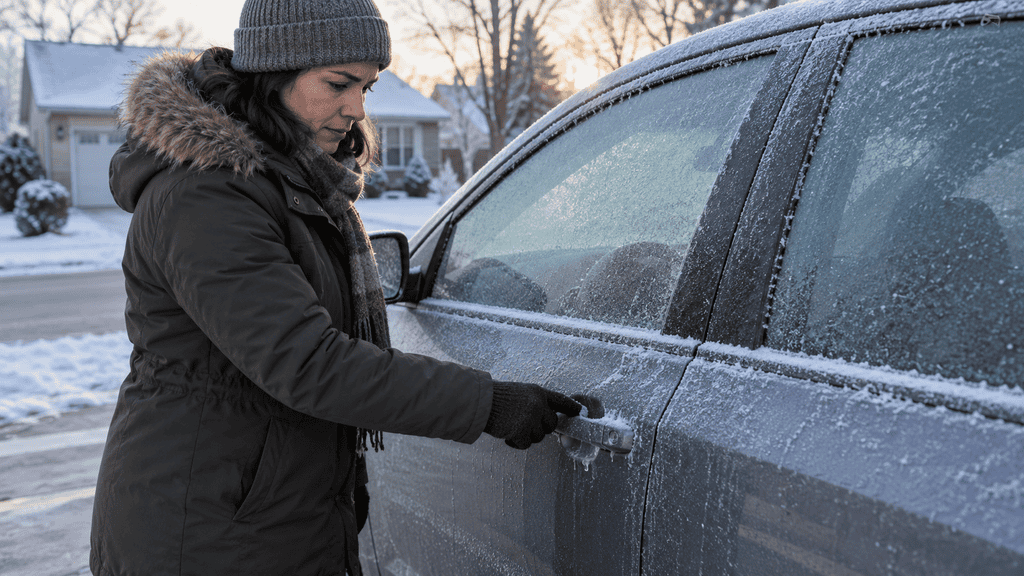
Cold-weather door-opening procedures vary with the vehicle and handle design, so follow the manufacturer’s instructions for that specific model.
If the same door continues to fail after freezing conditions are no longer involved, return to the mechanical and electrical diagnosis.
The Trouble Started After a Collision
A door that stopped opening properly after an accident belongs on a separate diagnostic path.
Look for things such as:
- visibly changed panel gaps
- a door that sits differently in the opening
- unusual resistance when the door moves
- latch alignment that appears different
- obvious impact damage around the door or body opening
Collision damage can affect the latch, internal hardware, door structure, or the relationship between the door and body.
If the door’s structure or alignment has changed, diagnose that damage before treating the latch as the repair.
If your door trouble started after an impact, MotorHills also has a related guide on what to check when a car door will not close properly after an accident.
Structural repairs should follow the vehicle manufacturer’s collision-repair procedure. Depending on what was damaged, repair may involve individual components or, in some situations, the door shell itself.
How the Inside Release Works
You do not need to memorize every part inside the door to troubleshoot this.
The important thing is that pulling the inside handle or operating the release control ultimately tells the latch to release the door.
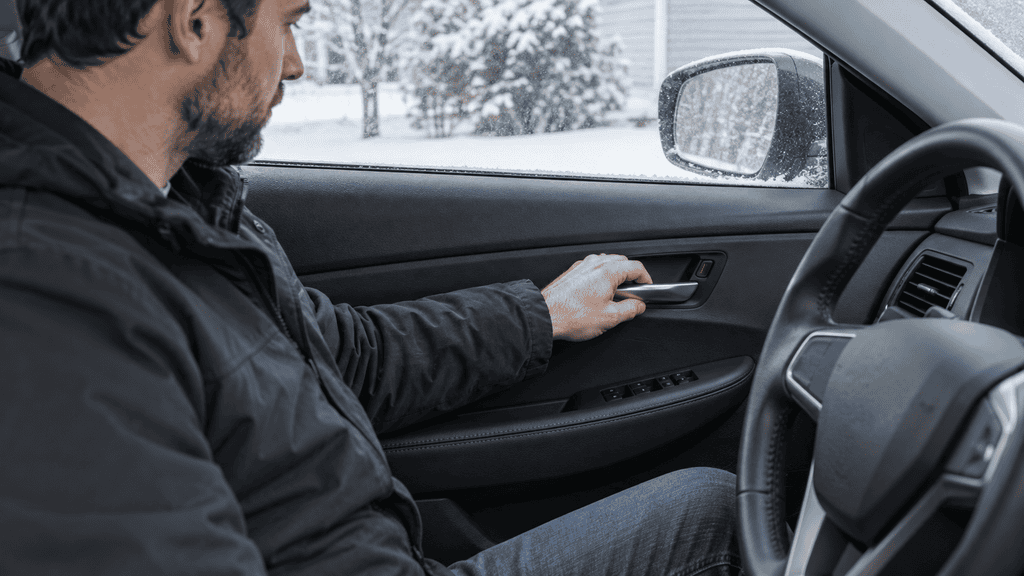
How that command gets there varies.
A vehicle may use:
- a cable
- a rod
- another mechanical connection
- a powered or electronic release system
The lock actuator and latch also have different jobs, even when they are packaged closely together.
That distinction matters because an inside handle that suddenly feels loose is not the same diagnosis as a powered lock that no longer responds, and neither automatically proves the latch itself has failed.
Before Removing the Door Trim
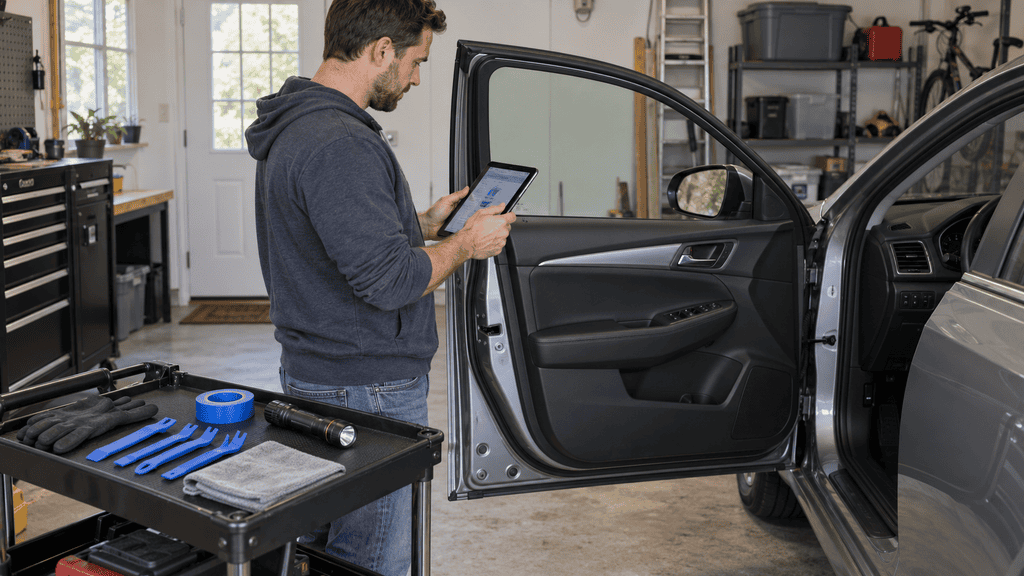
Only move into the door after the symptom pattern points you there and you know the trim can be accessed safely.
Before removing anything, check the exact service or trim-removal procedure for your year, make, model, and door position.
You need to know:
- whether the door should be open for the procedure
- where its fasteners and retainers actually are
- which electrical connectors or release cables are attached to the panel
- whether SRS components, sensors, wiring, or connectors are involved
- how the moisture barrier or water deflector is supposed to be removed and restored
Do not assume a screw is hidden in the same place as another car, and do not pry at random areas because a panel refuses to move.
If the Door Is Stuck Closed
A stuck-closed door changes the job considerably.
Some trim panels and latch components are difficult or impossible to service normally while the door is closed.
Do not force the panel off or blindly manipulate the mechanism through whatever opening you can reach.
If the OEM procedure does not provide a safe way to access the failure with the door shut, vehicle-specific professional access may be the better next step.
Pay Attention to SRS Components
Doors can contain side-impact sensors, airbag-related wiring, or other supplemental restraint system components.
Do not use a universal “disconnect the battery and wait” rule.
If your door service procedure intersects SRS wiring, sensors, connectors, or related components, follow the exact OEM depowering and service procedure for that vehicle, including whatever waiting period the manufacturer specifies.
Different systems can have different requirements.
Protect the Moisture Barrier During Access
Behind the trim you may encounter a moisture barrier or water deflector.
If it has to be disturbed for the repair, plan to restore it according to the vehicle’s sealing and installation requirements.
Treat it as part of the door assembly that needs to be restored correctly after access, not as disposable trim.
Correct installation matters. I-CAR notes that a missing or incorrectly installed door moisture barrier can even affect airbag timing on vehicles where it is part of the door’s designed pressure behavior.
Inspect the Inside Handle and Release Connection
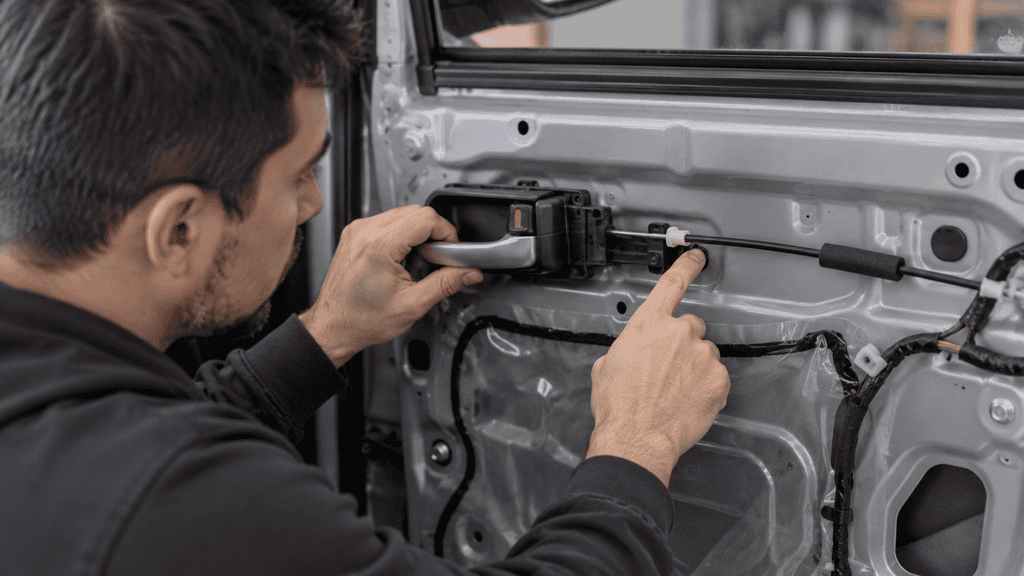
Once the trim has been removed according to the correct procedure and the mechanism is safely accessible, return to the simplest MotorHills troubleshooting rule: look at what actually moves.
Operate the inside handle while watching the accessible connection.
You are trying to answer questions such as:
- Does the handle move its connection?
- Does the cable or rod move with it?
- Does something move but fail to reach the latch?
- Is a connection obviously detached?
- Is a retainer no longer holding something in place?
- Does the movement stop somewhere that looks abnormal?
You are not trying to force the latch open. You are watching the failed system operate so you can find where the motion stops being transferred.
Inspect the Cable, Rod, and Retainers
Depending on the vehicle, the inside handle may operate the latch through a cable, rod, or another connection.
Check the parts your vehicle actually uses.
Look for:
- a cable that is no longer attached where it should be
- a rod that has come out of its retainer
- a damaged plastic clip or retainer
- an obvious break
- excessive looseness
- a connection that moves incorrectly when the handle is pulled
If the inside handle has lost tension and the outside handle still opens the door, this area deserves close attention.
Treat the latch as a replacement target only after the diagnosis actually points to it.
If the handle, cable, or retainer has stopped transferring movement to the latch, replacing the latch would not address the actual failure.
Inspect the Latch and Lock Actuator
If the inside release connection appears intact, continue toward the latch and locking system.
The latch is responsible for securing and releasing the door. The lock actuator or related powered locking hardware controls another part of the system.
A problem in one should not automatically be diagnosed as a problem in the other.
Look at what happens while the relevant control is operated.
If the release connection moves correctly but the latch does not respond as expected, the latch itself becomes more interesting.
If powered locking or unlocking is not behaving normally, the actuator or electrical side may deserve attention.
The goal is to identify which part stopped doing its job rather than replacing several door components at once.
Check for Contamination and Corrosion
Dirt, contamination, and corrosion still belong in the inspection.
Look around the accessible moving and connection points for buildup, corrosion, or deterioration that appears to interfere with normal movement.
Cleaning cannot repair a broken clip, detached cable, failed actuator, or damaged latch.
Severe corrosion may also mean the affected part has deteriorated beyond a simple cleanup.
Treat contamination as something to diagnose, not as a reason to start using household cleaning products inside the door.
Lubricate Only Where the Vehicle Procedure Calls for It
Lubrication can be appropriate for specified door-latch or related service points, but it is not a universal fix for a door that will not open.
Use only the lubricant type and application points specified for the vehicle or component, focusing on the service points the manufacturer actually identifies.
Lubricant will not reconnect a cable, repair a broken retainer, restore a failed actuator, straighten collision damage, or fix a broken latch.
If a component is damaged, replace or repair the damaged component instead of trying to make it work with more lubricant.
Replace the Part That Actually Failed
Once you can see where the release sequence stops working, the repair decision becomes much clearer.
The failed part may be the:
- inside handle
- release cable
- rod
- retainer or clip
- latch
- lock actuator
Replace the component you have actually diagnosed.
An inside-handle failure does not by itself condemn the latch or lock cylinder. Replace the part the diagnosis actually identifies, and leave functioning parts on the other doors in service.
What About Replacing the Whole Door?
A complete door replacement is a collision or structural repair decision, not a normal next step for an inside handle that stopped working.
Some structural damage can require door-shell replacement. Other damaged components may be serviceable separately.
For example, I-CAR notes that the repair decision for an intrusion beam can depend on whether that beam is welded into the shell or designed as a separately replaceable component.
Use the OEM collision-repair procedure to determine what the damaged structure actually requires.
Restore the Moisture Barrier Before Reassembly
If you disturbed the moisture barrier or water deflector to reach the mechanism, restore it correctly before putting the trim back on.
Follow the vehicle procedure for:
- positioning
- sealing
- attachment
- any required replacement of damaged sealing material
Before reinstalling the panel, make sure the barrier is positioned and sealed without gaps.
The repair is not complete if the door opens again but its moisture-management or safety-related installation has been left compromised.
Choosing the Right Repair Provider
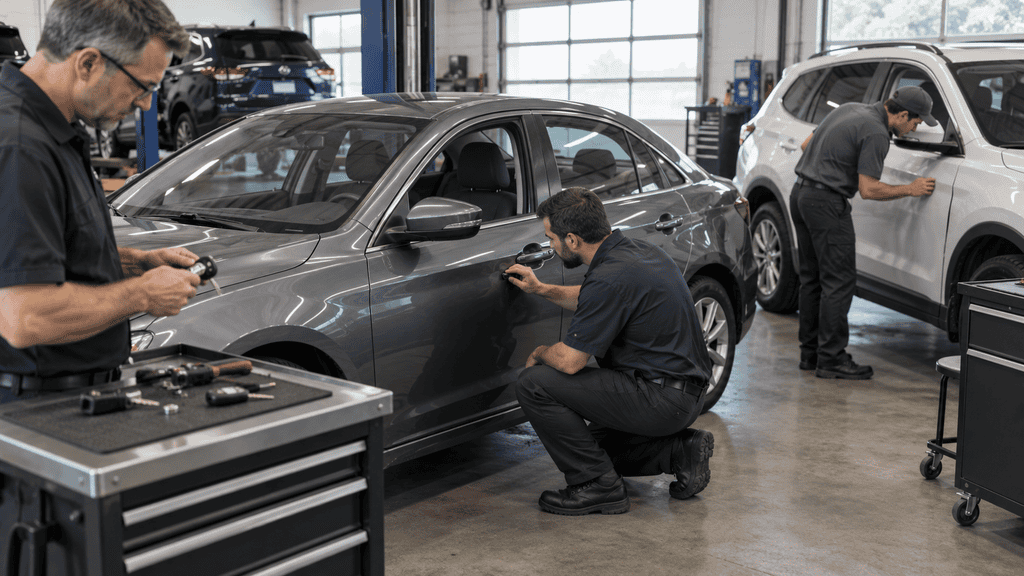
If you reach the end of your comfortable DIY range, match the provider to the actual failure.
Normal Mechanical or Electrical Door Hardware
An appropriate automotive repair service can handle problems involving door handles, cables or rods, retainers, latches, actuators, and related electrical door hardware.
Collision, Alignment, or Structural Damage
Use a collision or body repair facility when the door, hinges, surrounding body opening, intrusion structure, or alignment has been affected by impact damage.
Those repairs need to be assessed against the OEM collision-repair procedure rather than treated as ordinary latch replacement.
Key or Lock-Cylinder Problems
An automotive locksmith makes sense when you have actually diagnosed a problem involving the mechanical key, lock cylinder, or related security side.
An inside handle that stops releasing the door does not automatically make the lock cylinder a locksmith problem.
Let the Symptom Choose the Repair
The fastest way to waste time on a door that will not open from inside is to start replacing parts before figuring out what the door is telling you.
If a rear door opens from outside but not inside, check the child lock first. If the outside handle works and the inside handle has suddenly lost tension or alignment, inspect the inside release connection. If neither side opens the door, treat it as a deeper problem instead of blindly forcing the linkage.
Electronic releases, freezing-only problems, and collision damage should also be separated before you take the trim apart.
Once safe access is available, follow the motion from the inside handle toward the latch. Check the connection, cable or rod, retainers, latch, and actuator, then repair the component that actually failed.
That gives you a much better chance of fixing the door without turning one problem into three.
External Resources
- Hyundai: How conventional rear-door child-protector locks work and where the control is located
- Hyundai: How an electronic child safety lock can replace the manual rear-door child-lock control
- Ford: How double locking prevents doors from being opened or unlocked from inside
- Lexus / NHTSA: Inside door-handle failure where the latch-release cable attaches, including diagnostic symptoms
- Tesla: Vehicle-specific manual door releases when low-voltage power is unavailable
- Tesla: Example of manufacturer-specific cold-weather door-opening guidance, including avoiding tools or excessive force on an ice-bound exterior handle
- Toyota / NHTSA: Door service procedure showing vehicle-specific trim removal and SRS depowering requirements
- I-CAR: Why correct door moisture-barrier installation matters to vehicle safety
- I-CAR: Door intrusion-beam damage and when door-shell replacement is required
- Ford: Manufacturer example of specified door-latch lubrication


When car door won’t open from the inside check child safety lock before doing anything
Agreed, it should be the first step in troubleeshooting.
I replaced my front passenger side window in my 300 Chrysler and now the lock won’t work and the handle won’t open the door from the inside any suggestions on how to fix this?
I would check the wiring and fuses. If it was working prior, it could be a harness plug not making a good connection.